DIY Actual TREE Christmas Ornaments
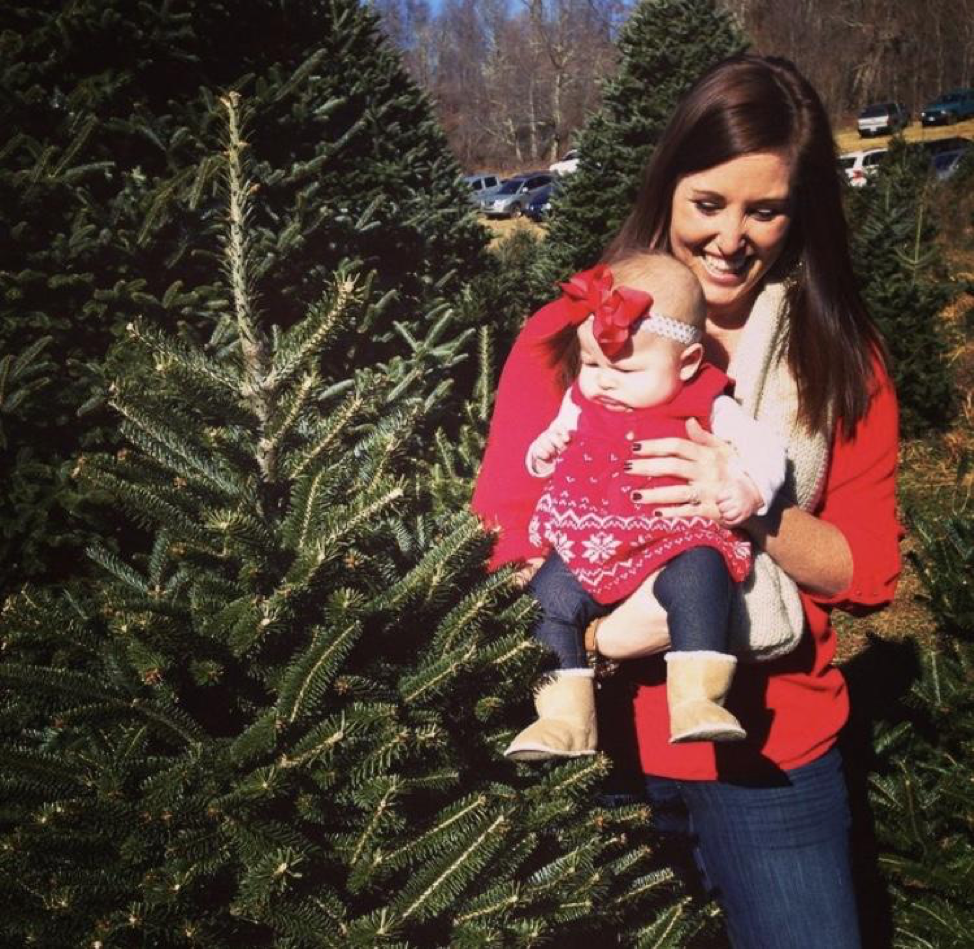
When Aubrey was 3 months old, we first went up to Boone, NC to start our Christmas tradition of cutting down our own tree. We wandered around searching for the perfect tree, having a way more in depth conversation about height, shape, and overall appearance than I knew was possible.
[ReviewDisclaimer]
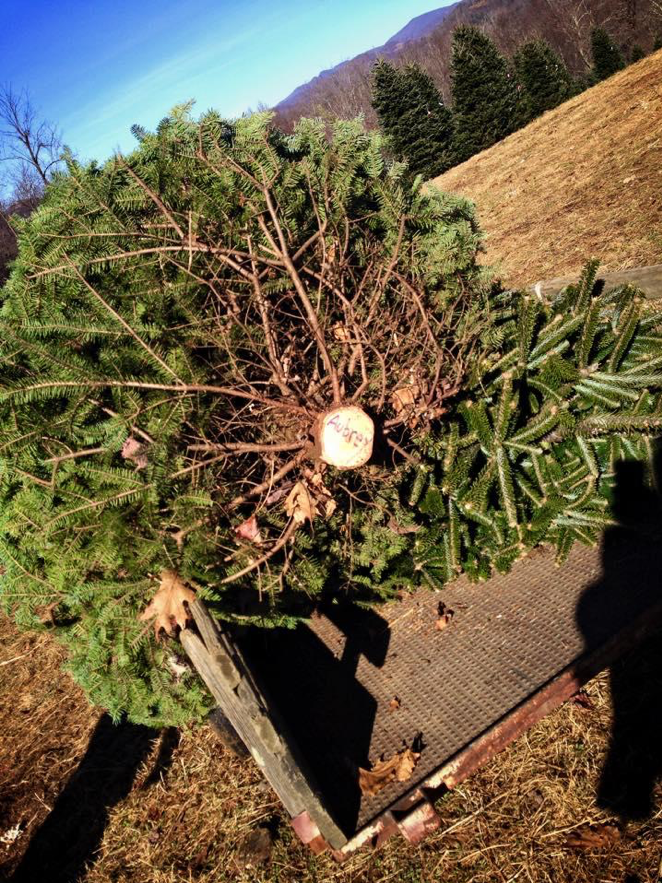
When we selected Aubrey’s perfect first Christmas tree and signaled for the guy to bring the chainsaw over he asked, “What should I write on the bottom to let them know it is yours?”
Once I saw “Aubrey” written on the bottom, I had a total revelation. And another Christmas Tradition was born!
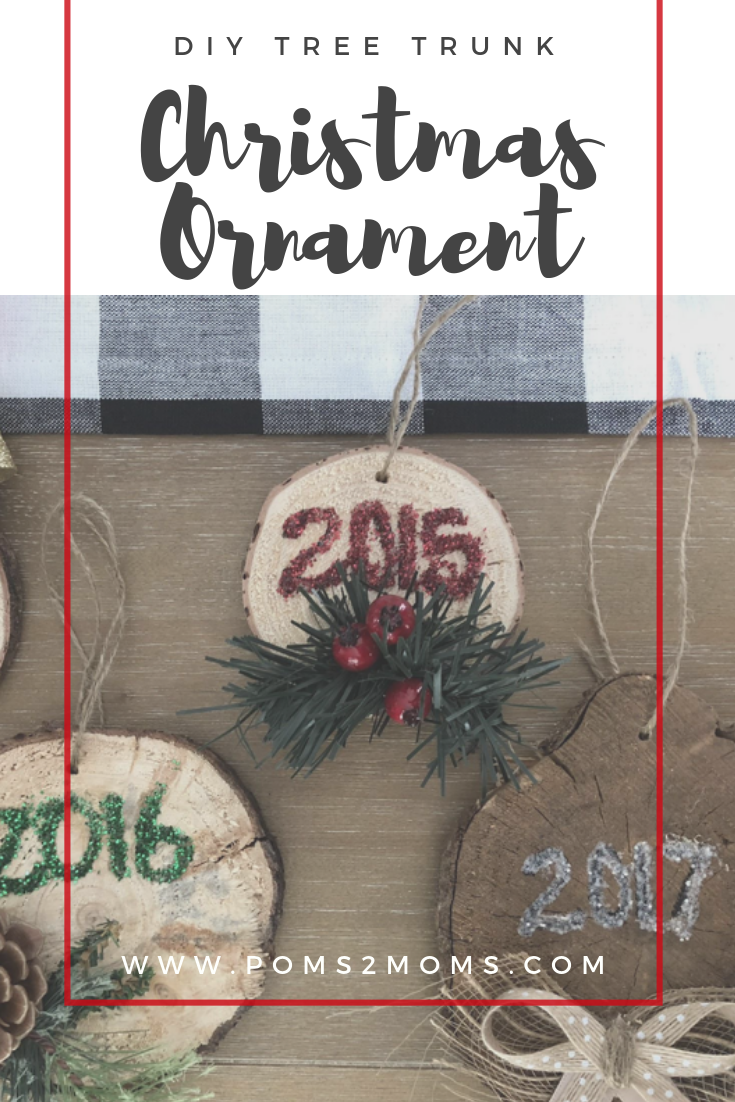
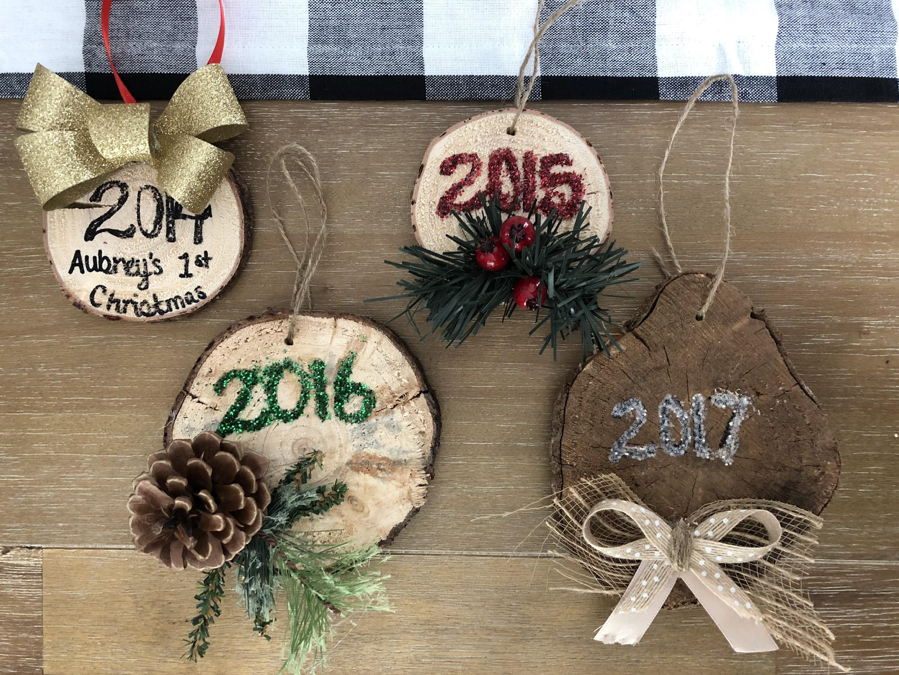
Every year we chop off a slice of the truck of our tree and turn it into a Christmas Tree Ornament! It is super easy and something fun that the girls can help out with!
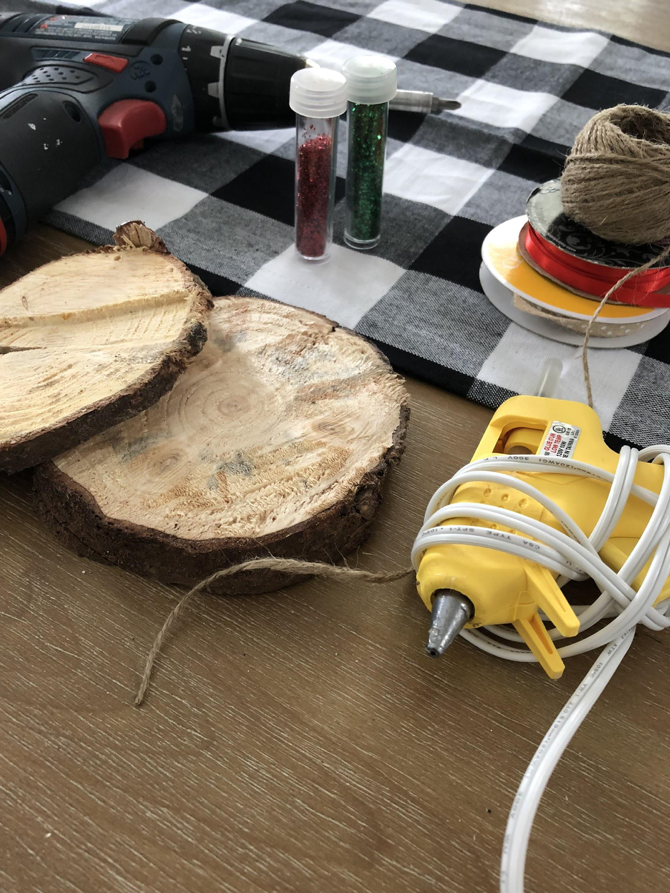
Here is what you need:
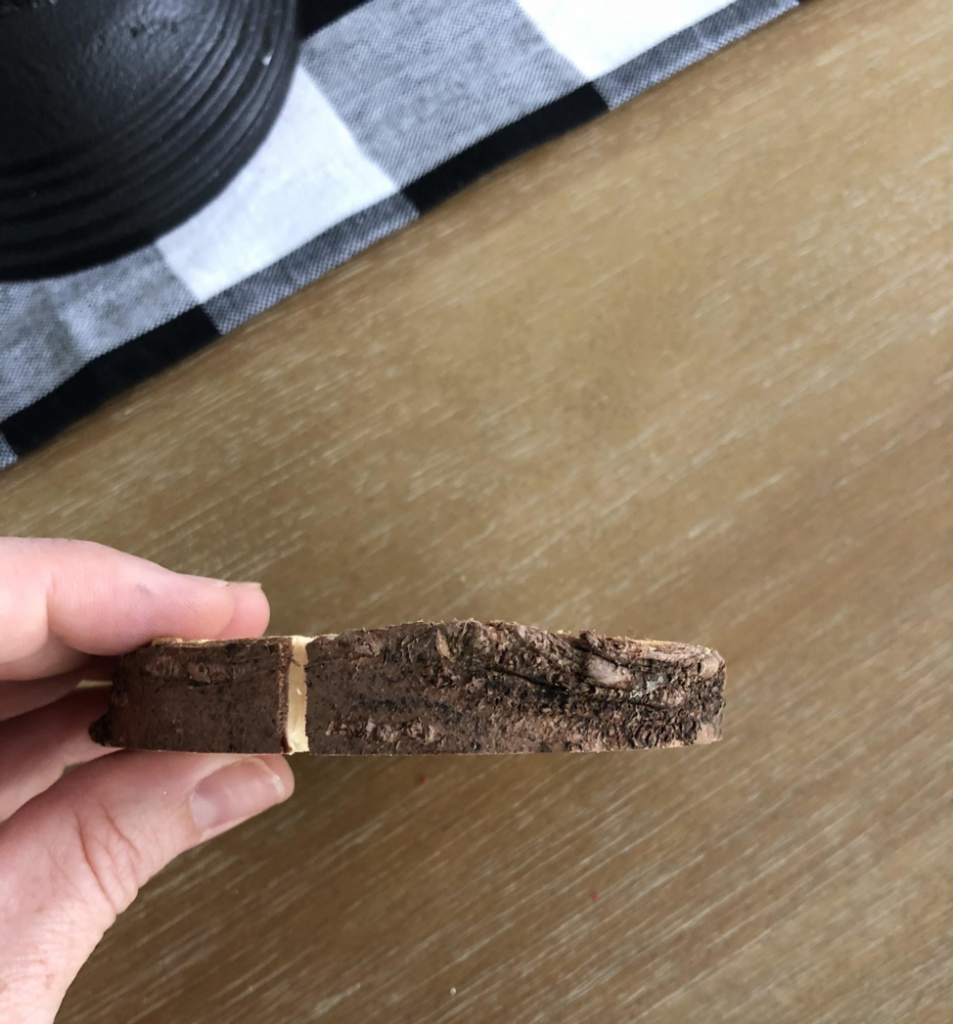
- A piece of your tree trunk, ½ inch thick
- A drill
- A Sharpie or pen of some sort
- Festive Ribbon
- A hot glue gun and extra glue sticks
- Scissors
- Any extra decorations you would want to add… be creative or let your child pick!
Step 1
Cut off a ½ inch piece of your tree trunk. Drew used a chainsaw, but you can use a handsaw or ask the guy at the Christmas tree farm to cut you a piece. Always have a few just in case it splits, has lots of sap, or you mess up your creation. Once it is cut let it sit for 2 days to fully dry out before you decorate.
Step 2
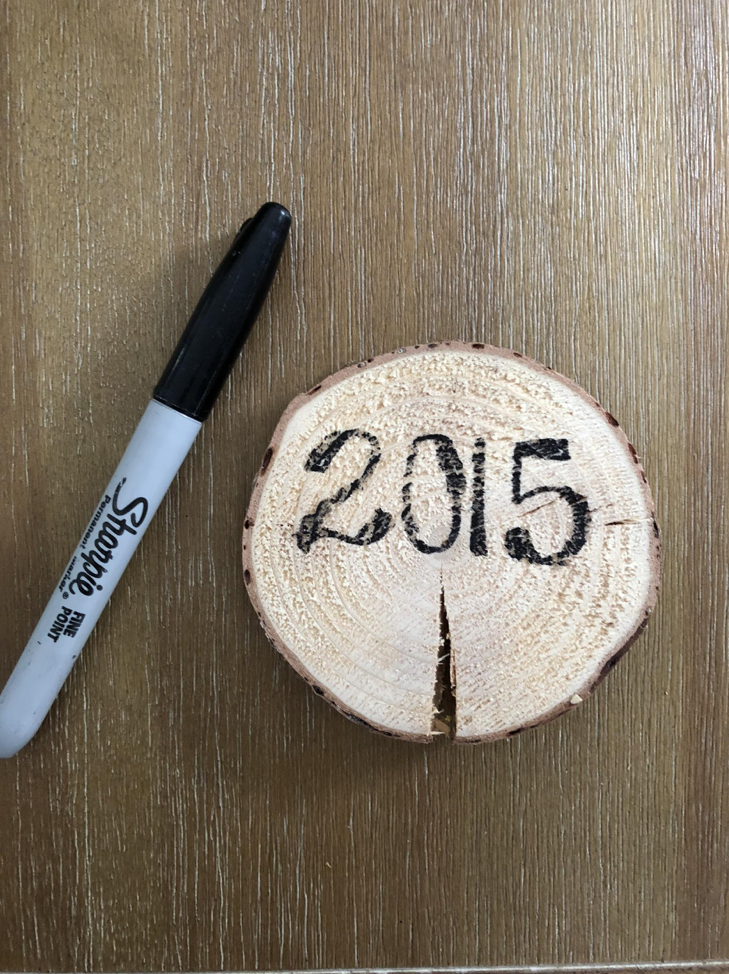
Use your drill to make a hole through the spot that you identify as the top. This is going to be for your ribbon to string though and hang on the tree. You can do this before or after you decorate.
Step 3
Write the year on the piece of wood. Or if you are feeling fancy you can get on of those wood burning pens and burn your year into the wood! That would be awesome!
Step 4
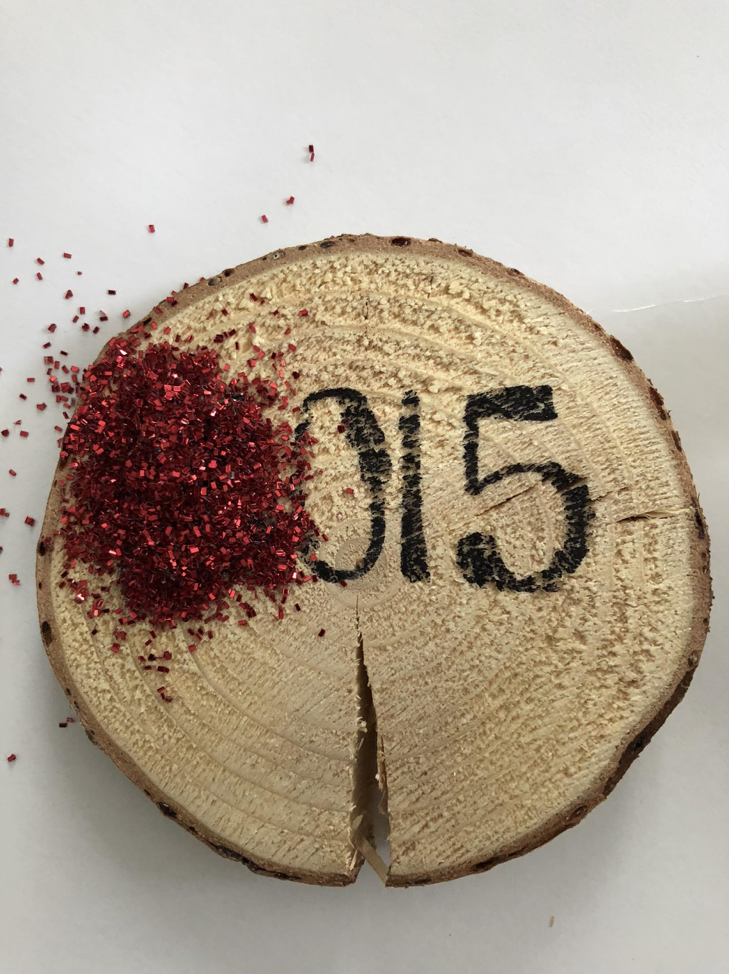
Aubrey is obsessed with glitter… every card or picture we make has to include glitter so it was a must for her ornaments. I used hot glue to trace over the numbers and then she dumped the glitter on top.
Step 5
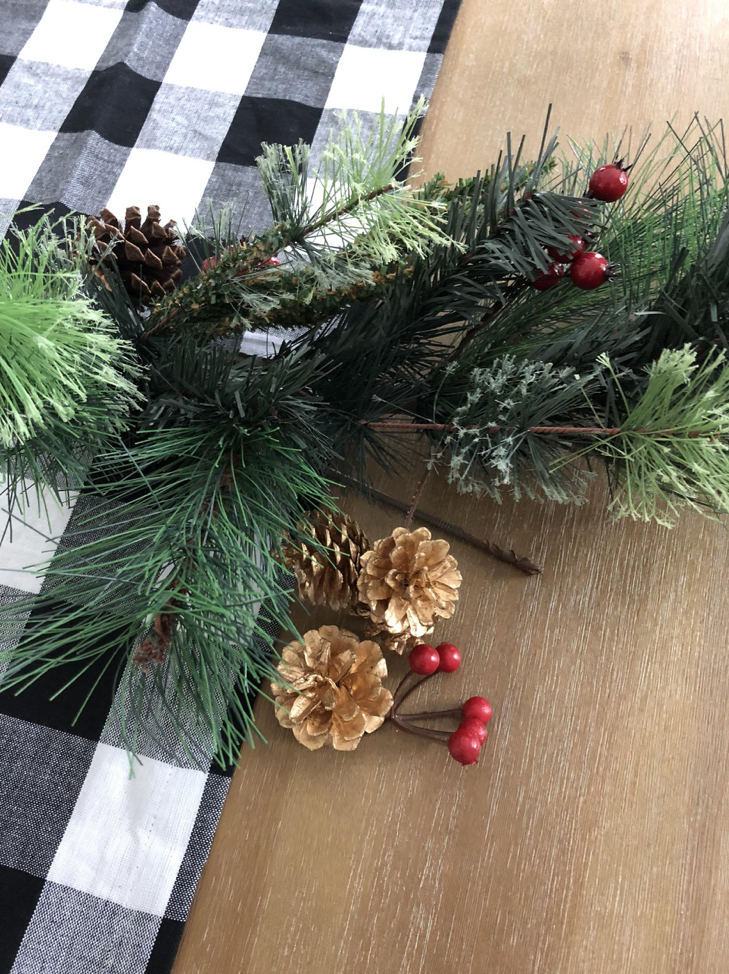
Add your extra decoration! I like to buy items in a bunch so I can cut off items that are already assembled together and then you have a stem to glue to your tree trunk.
Step 6
After you glue your decorations on, you add your ribbon and it is ready to hang!
Another option is leaving it plain just with the ribbon and the year. Either way it is a great keepsake!
It is already funny to look back and see the memories! For our first two trees, we were living in a smaller home and could only get a 7-8 ft tree. We moved in 2016, and have a two story foyer so you can see how much larger of a tree we chopped down!
I would love to hear other ideas for memorable ornaments you make with your family, or see pictures of some you have created!

About The Author
Jenny
Founder & author of the parenting & lifestyle blog, Poms2Moms, but my full-time job is wine. Find me writing about my two precious girls, aspirations to become friends with Joanna Gaines, and balancing home-life with my career. Cheers! – Jenny
Ayanna | 19th Dec 18
These are so cute! I love using natural elements in my Christmas decor as well.
Amy @ Orison Orchards | 20th Dec 18
These are so cute, and I love how easy they look!
Beth | 20th Dec 18
What a great idea! I wish I would have thought of that when my kids were little. I’ll keep it in mind if we have grandkids.
Denise | 21st Dec 18
I love DIY ornaments, usually I order some with family pictures each year but I want to start including a new DIY ornament every year too. these looks gorgeous and creative, thanks for sharing this.
Erin @ Her Heartland Soul | 21st Dec 18
How beautiful! I love this!