DIY Scrabble Wall Tiles For Just $49
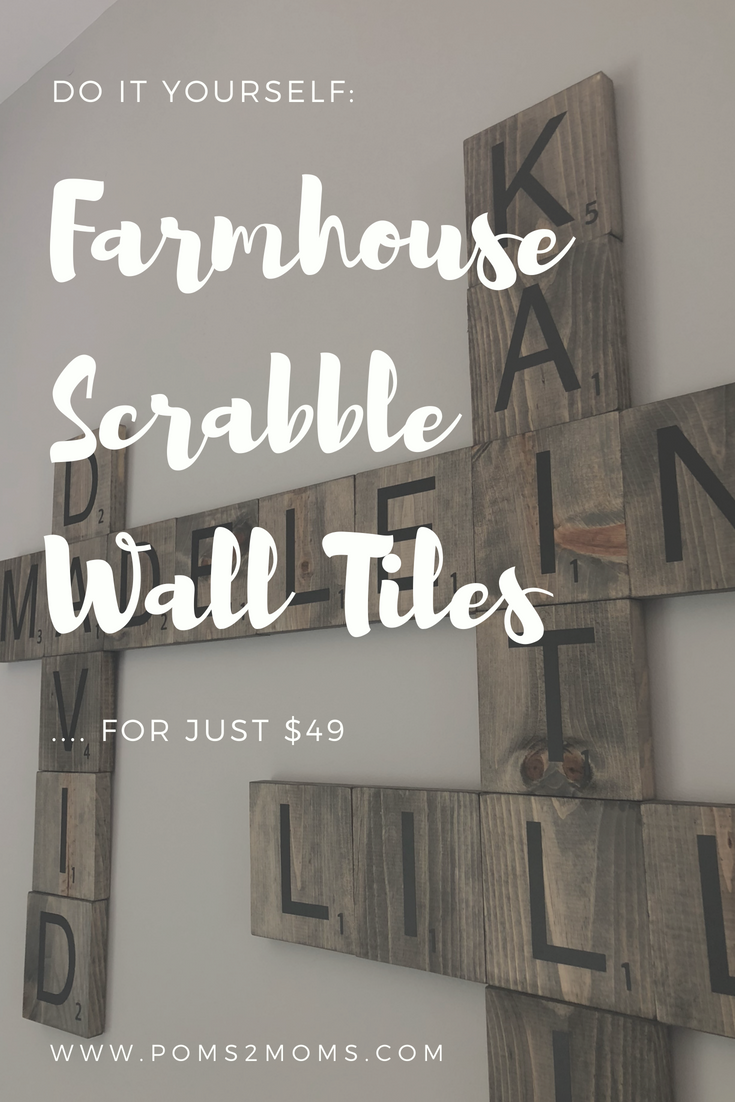
Anyone else majorly obsessed with the family “Scrabble-style” wood tiles that are popping up all over Pinterest?
I was too. [Insert ALL the “heart eyes.”]
However, upon looking at purchasing these tile sets through Etsy stores, I decided I couldn’t justify the $3 – $5 per tile that most shops were charging. With our household’s first names totaling a whopping 28 letters, that could land us at $140!
NOPE!
So with the help of a friend with a Cricut machine, together, we created a set for our family that only cost $49.37.
[ReviewDisclaimer]
WHAT YOU’LL NEED:
- Cricut machine
- Black vinyl Cricut paper
- Transfer paper
- Wood stain
- Mineral spirits
- Sandpaper
- Command strips
- 1x6x8 pine lumber
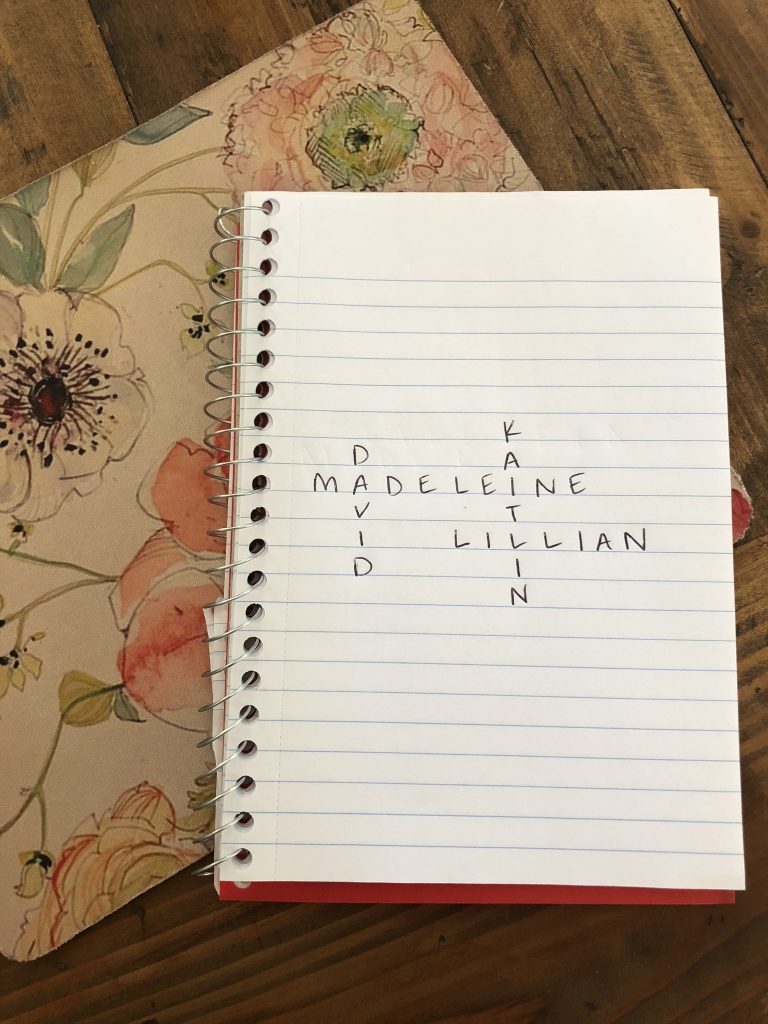
1.) DRAW OUT YOUR DESIGN
You have to determine not only the space that you’re working with, but also how you want the letters to cross. This impacts the way it looks and most importantly, the number of tiles you use.
- EX: “David” and “Madeleine” each have 1 letter “A” but we only need 1 tile because “A” is where their names cross.
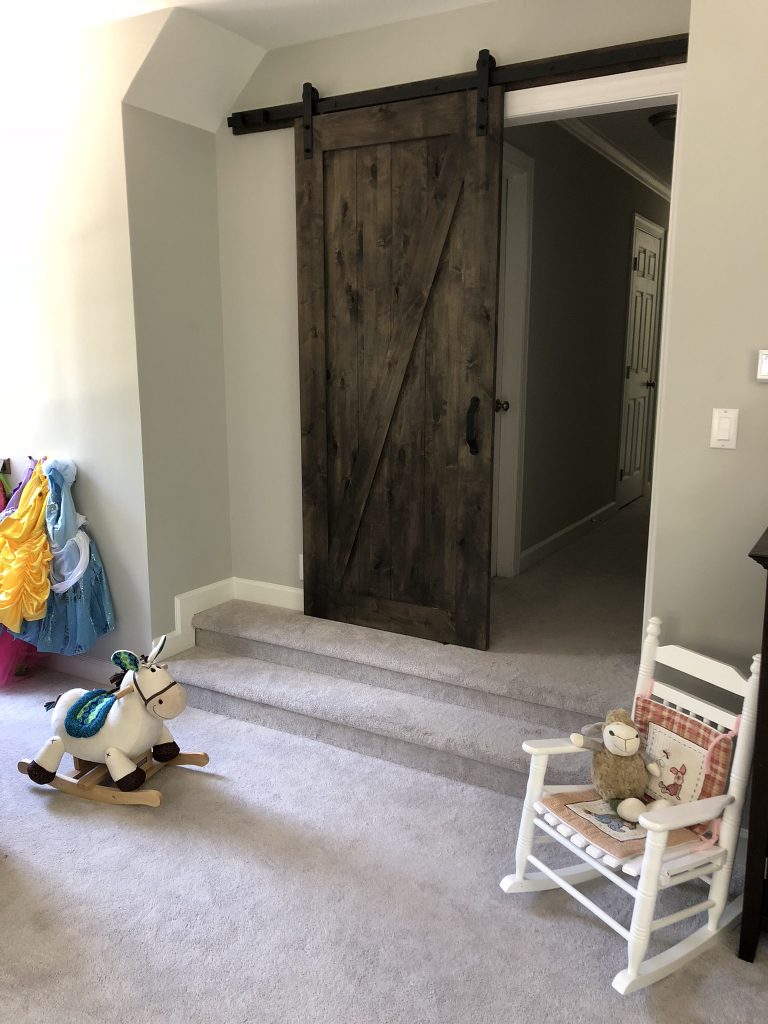
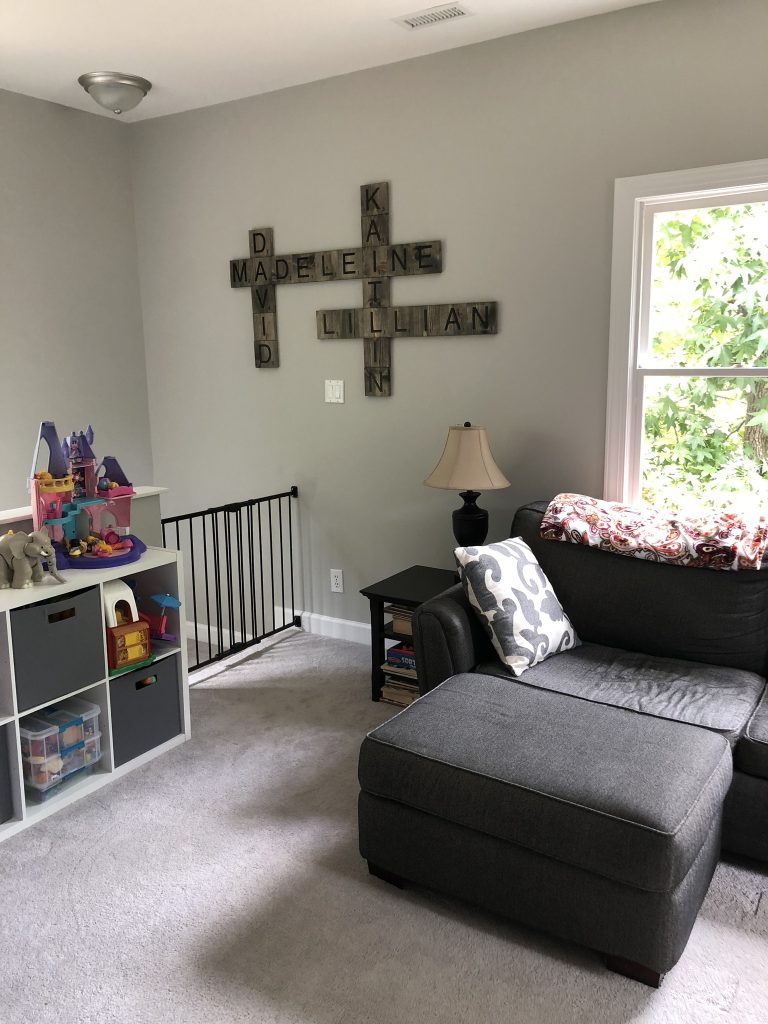
We chose a huge blank wall in our kids’ playroom to hang these tiles, BUT OF COURSE, there is a light switch smack-dab in the middle of it. Take this into account when measuring for your second step, below.
2.) GET YOUR LUMBER
You’ll have to do some easy math to determine how many 6×6 tiles (and therefore, how many pieces of lumber you’ll need.) One 1x6x8 board will get you 16 letters, but I’d recommend accounting for a few extra tiles for any screw-ups. Depending on where you get your lumber, (we went to Lowe’s,) there are many different length options for the lumber. So once you decide on the number of tiles you require, an 8 ft board may or may not be the right length for you.
Speaking of Lowe’s—they’ll do the work of cutting the lumber for you. We cut ours at home with a midar saw, but if heavy-duty machinery ain’t your thing, have Lowe’s help you out.
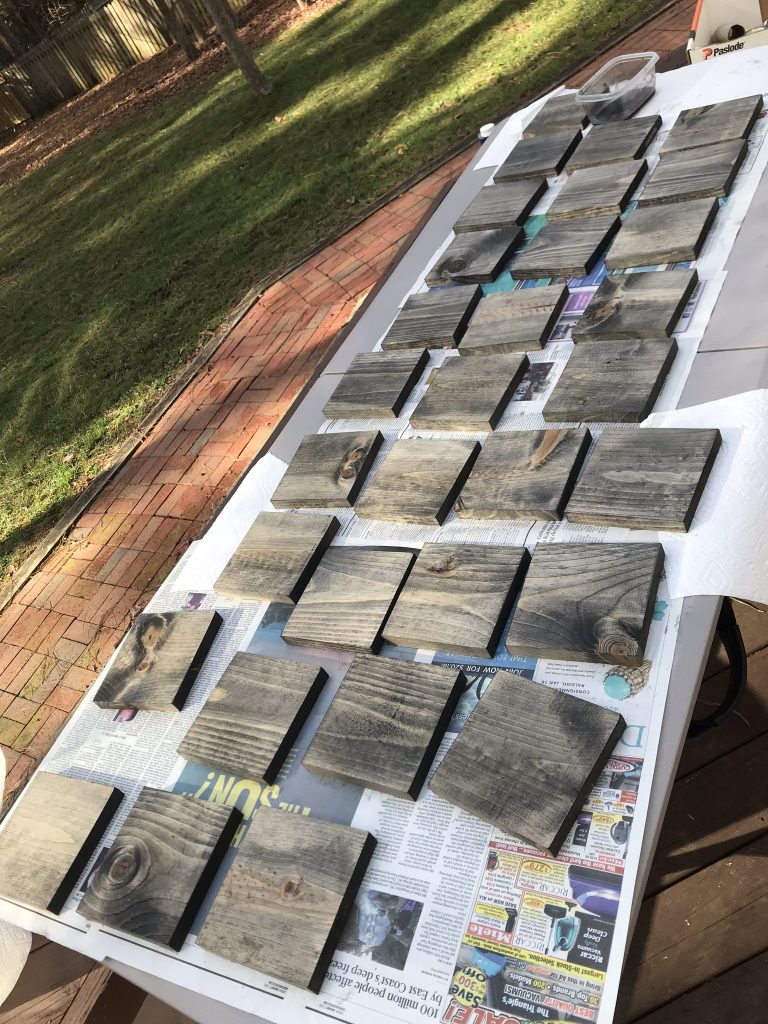
Gently sand the edges of your tiles until they’re nice and smooth.
3.) FIND YOUR STAIN
I used Miniwax wood stain in Ebony, cut by 50% with mineral spirits. This means you’re using ½ stain, ½ mineral spirits.
This is the exact formula for our hardwoods downstairs, along with our barn door on the opposite side of the playroom, (from where the tiles were to be hung,) so it was important that we got the color just right.
(We already had a ton of this on hand, so I didn’t account for it in the total cost of the project.)
I’d recommend a stain light enough that you can easily make out the black letters, but also something rich enough to bring out the colors and texture in the pine.
Using painter’s cloths, or some old rags, apply the stain; adding a second coat if you wish.
PRO TIP: Once you see how the stain grabs the wood, go ahead and play around with how you want the tiles organized. This helps evenly distribute tiles that are a little plainer from those that have more character BEFORE you stick on the letters.
4.) MAKE THE CRICUT LETTERS
Again, you’ll need to find a buddy with a Cricut machine, if you don’t already have one yourself.
The font you’ll want to use is News Gothic Standard. (This link also directs you to the correct numbers that correspond with the letters.)
You’ll print the letters onto the black vinyl paper, then carefully cut around each letter to lay it face-down on the transfer paper. The transfer paper allows you to lay the decal flat onto your intended surface (the wood tile) much more seamlessly than if you were to just simply peel the letters from the black vinyl and lay them on the tiles yourself.
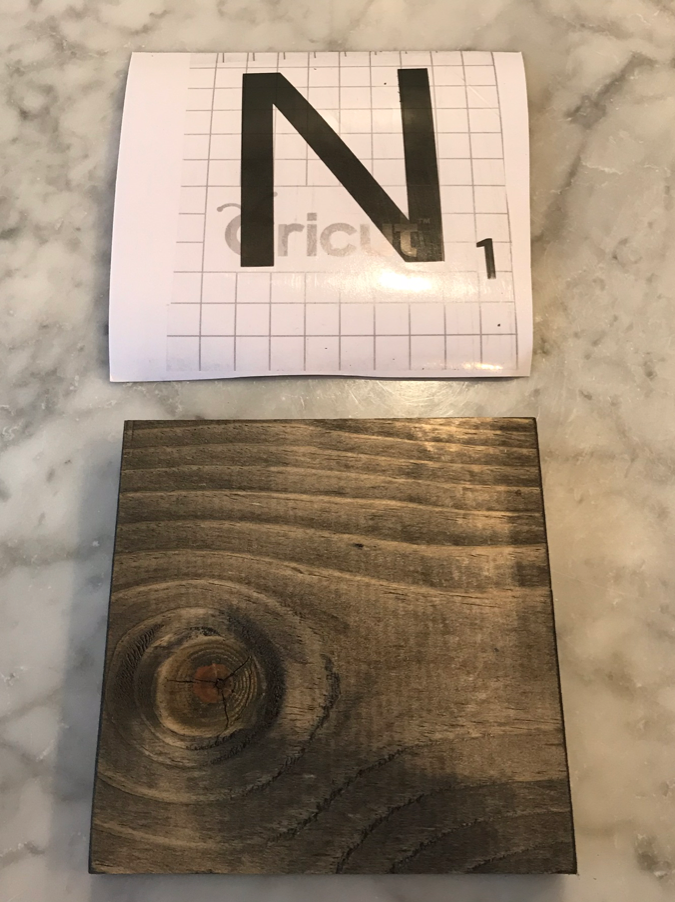
You’ll then peel off the backside (white solid side) of the transfer paper and lay it on the wood tile; using a credit card (or something similar) to smooth out the letter and prevent any bumps or ridges.
This YouTube tutorial was very helpful in the vinyl -> transfer paper -> final surface process.
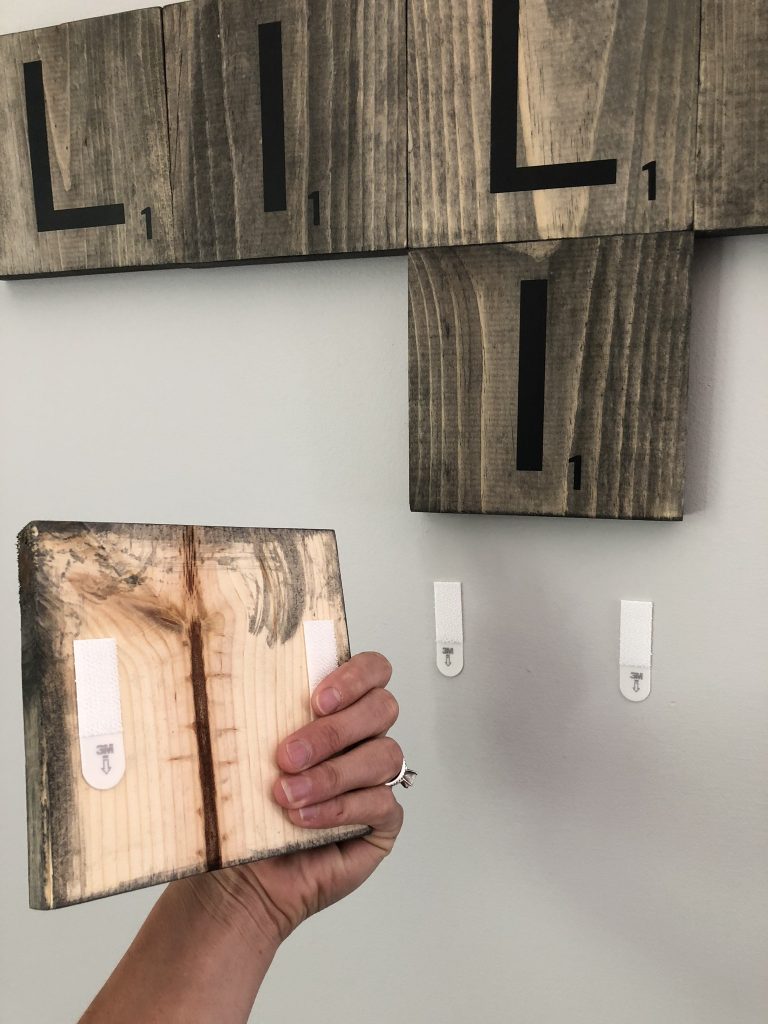
5.) HANG YOUR TILES
The BEST part about doing these Scrabble tiles yourself is you have power over how they’re hung. Most Etsy shops sell the tiles with sawtooth hanger son the back, and that would be a HUGE pain to ensure that they’re hung evenly.
Using a level and command strips, we easily mounted the letters WITHOUT A SINGLE NAIL HOLE.
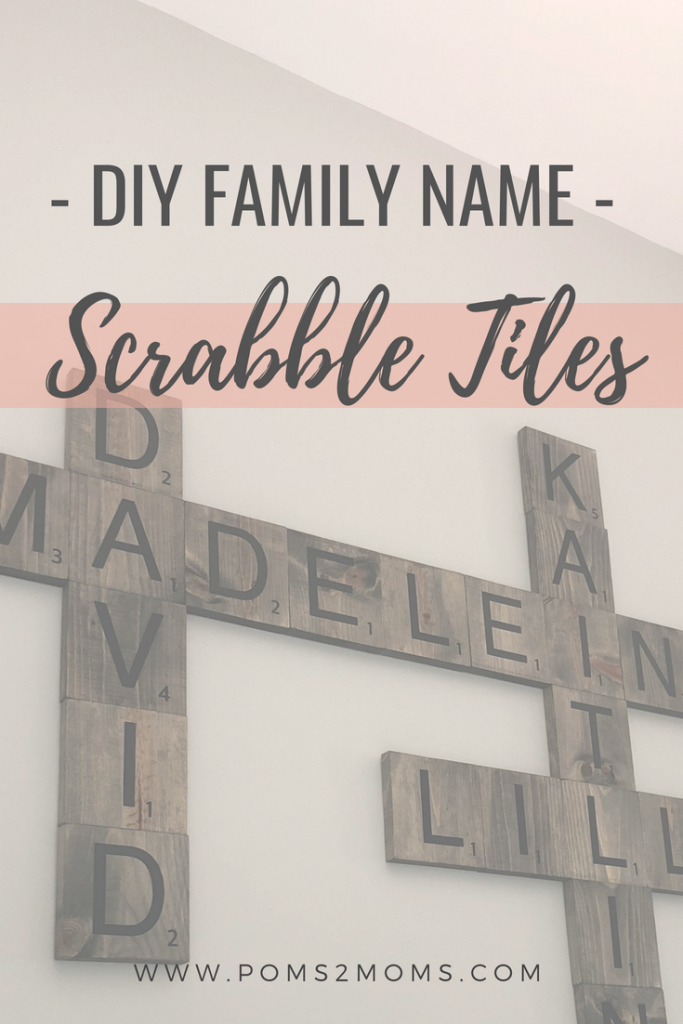
HOORAY! You’re done! The final product is a perfectly adorable wall scrabble board, customized for you and your family. Many people love to decorate around and in between the tiles, but for now, I love ours just the way it is in our playroom.
Got questions or need additional tips on how to make your own? Email us at poms2moms@gmail.com!

About The Author
Kaitlin
Founder & author of the parenting & lifestyle blog, Poms2Moms. Wife, girl mom, and lover of all things outdoors, food, and wine. Travel is my love language, Netflix binges… my guilty pleasure. Find me writing about toddler drama, baby’s first year, progressive parenting, and more. Cheers! – Kaitlin
Kelly Bolen | 23rd Jul 18
I have a friend who just did these tiles and they are adorable!!!! What a great and easy way to do some wall art!
admin | 24th Jul 18
Hey Kelly! That’s awesome! Another DIY-diva. I love that they make such a huge statement on a wall for such little effort! Thanks for reading. 🙂
Brittany | 23rd Jul 18
I love this idea! Thanks for a sharing an easy way to do it yourself!
admin | 24th Jul 18
Thanks, Brittany! I can’t take credit for the original idea, but it’s so simple there’s no reason to pay a hundred or so dollars when you can do it yourself!